Preserving Memories: Our 35mm Slide Scanning Service
Preserve Your Memories with Our Premium 35mm Slide Scanning Service
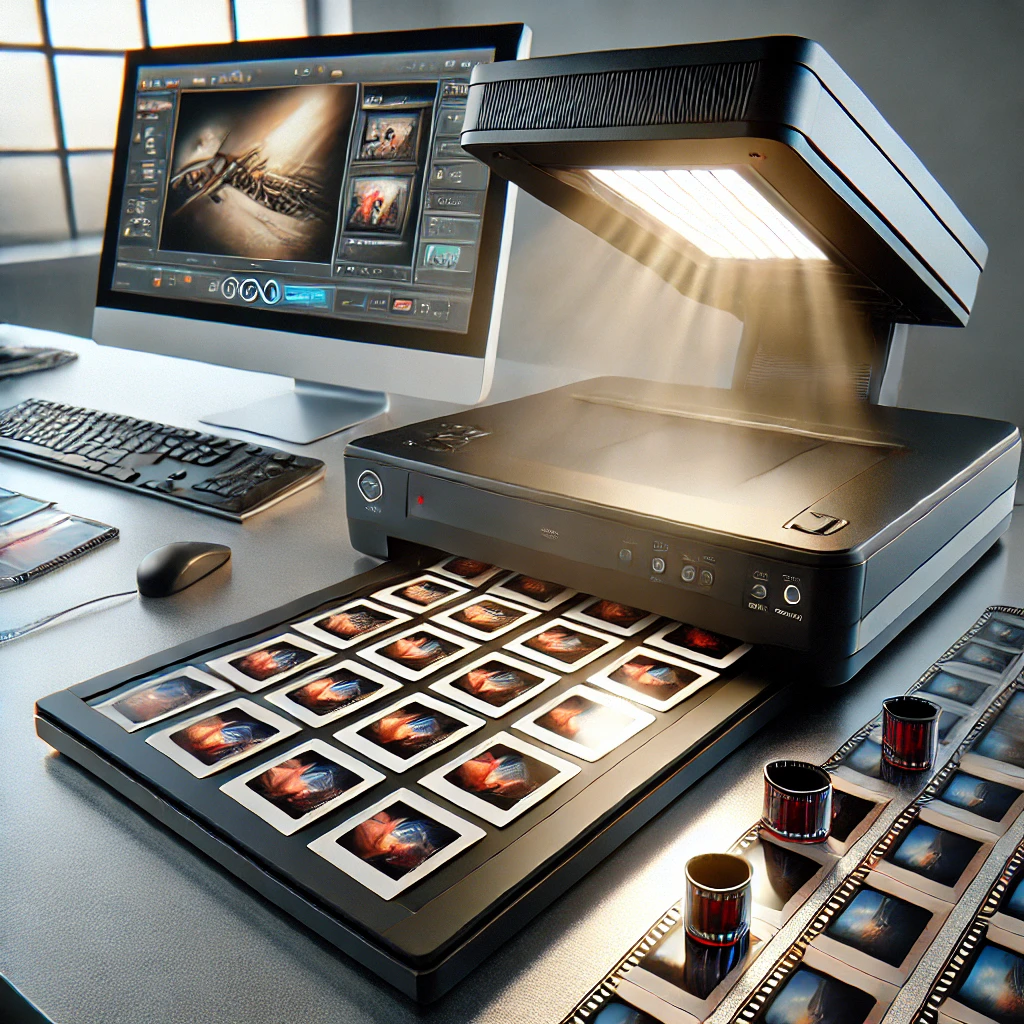
At Video Image Productions, we understand the sentimental value of your 35mm slides. These slides hold cherished memories and moments that deserve to be preserved for future generations. With our state-of-the-art scanning technology and expert team, we offer a comprehensive 35mm slide scanning service that ensures your memories are captured in the highest quality possible.
Why Choose Our 35mm Slide Scanning Service?
- High-Definition Scanning: Our advanced equipment guarantees HD scanning of your 35mm slides, capturing every detail with precision. We ensure that the colours are vibrant and the clarity is unmatched, providing you with digital files that truly reflect your original slides.
- Custom Edits and Enhancements: We offer optional custom edits, including colour correction and restoration, to enhance the quality of your scanned images. Our team can bring your faded slides back to life, ensuring they look as vivid as the day they were taken.
- Secure and Reliable Process: Your slides are handled with the utmost care. We offer free repair of splices and back up all digital files to our secure servers, ensuring your memories are safe throughout the process.
- Flexible Delivery Options: Whether you prefer cloud transfer, USB memory stick, or hard drive, we provide multiple options to access your digital files. Our cloud transfer service allows you to easily download up to 20 GB of media files directly to your desktop or mobile devices for a small fee.
- Convenient Service: Based in Seaford, East Sussex, we offer personal pickup and delivery services in Surrey, Kent, Hampshire, and London. For those further afield, our UK and worldwide mail order services ensure that distance is no barrier to preserving your memories.
Testimonials from Our Clients
Our clients consistently praise the fast service and excellent quality of our transfers.
Get Started Today
Preserve your 35mm slides with Video Image Productions. Contact us today at +44 01323 873513 or email us at [email protected] to learn more about our services and to request a free quote. Let us help you keep your memories alive for years to come.
“Preserving Your 8mm Cine Films: A Delightful Guide to Saving Your Precious Memories”
1. The Magical World of 8mm Cine Films
Ah, the 8mm cine film. Just saying it out loud conjures up images of grainy family gatherings, awkward birthday parties, and those unforgettable holiday moments. But beneath the nostalgic charm lies a fragile medium that requires a bit of TLC to keep those memories alive for generations to come.
So, you’ve unearthed a dusty box of these vintage reels from the attic. Congratulations, adventurer! Welcome to the whimsical world of cine films, where every frame tells a story, albeit sometimes shakily. Embrace the mystery that awaits as you embark on this cinematic journey.
But wait! Before you pop that popcorn and settle in for a trip down memory lane, let’s ensure your precious films are ready for their close-up. With a little care, your 8mm treasures can be preserved, shared, and cherished by future generations.
2. Understanding the Vulnerability of Your 8mm Films
Your 8mm cine films are like delicate butterflies, fluttering in the wind. They capture the essence of yesteryears but are not immune to the ravages of time. Understanding their vulnerabilities is the first step in ensuring their longevity.
These films, often made of cellulose acetate, are prone to deterioration due to environmental factors. Heat, humidity, and exposure to light can cause them to warp, fade, or even develop that dreaded “vinegar syndrome” scent. Cue the ominous music!
But fear not, dear cinephile! Awareness is your greatest ally. By recognizing the delicate nature of these films, you can take proactive measures to protect them, ensuring they’re always ready for their encore performance.
3. The Art of Storing 8mm Cine Films
Now that you’re well-versed in the vulnerabilities of your 8mm cine films, it’s time to play the role of curator. Proper storage is the key to keeping these vintage reels in pristine condition, even if your organisational skills lean more towards organised chaos.
First and foremost, keep your films in a cool, dry environment. Basements and attics are often the culprits of extreme temperatures and humidity, so opt for a climate-controlled area. Think Goldilocks: not too hot, not too cold, but just right.
Next, invest in archival-quality storage containers. These are like bespoke suits for your films, providing protection against dust, light, and chemical damage. Remember, when it comes to storage, fashion meets function. Your films will thank you for it.
4. Cleaning and Inspecting Your Films: A Labour of Love
To clean or not to clean, that is the question. And the answer, dear cinephile, is a resounding yes! But proceed with caution, for cleaning 8mm cine films is akin to bathing a cat—delicate, precise, and occasionally fraught with peril.
Start by inspecting your films for any visible signs of damage or dust. A soft, lint-free cloth can be your best friend here, gently wiping away any surface debris. Remember, you’re not scrubbing a pot; think of it as a gentle caress.
For more stubborn spots or to remove mould, consider consulting a professional. While DIY methods abound on the internet, a professional touch ensures your films are handled with the care and expertise they deserve.
5. The Digital Age: Transferring Your Films to Modern Formats
Ah, the digital age. A time when the phrase “cloud storage” no longer refers to a particularly fluffy cloud. Transferring your 8mm cine films to digital formats is a marvellous way to ensure their longevity while embracing modern convenience.
First, decide on the format that best suits your needs. Whether it’s MP4, AVI, or MOV, each offers unique benefits for playback and sharing. Consider how you plan to enjoy your films and choose accordingly.
Next, seek out a reputable service to handle the transfer. Look for providers that offer HD scanning, cloud transfer, and a range of output options. Your films are priceless; entrust them to a company that treats them as such.
6. DIY vs. Professional Transfers: The Great Debate
In an age where DIY is king, you might be tempted to embark on the great adventure of transferring your 8mm cine films yourself. But before you don your director’s cap, let’s weigh the pros and cons of DIY versus professional services.
DIY offers the allure of control and cost savings. With the right equipment, you can digitize your films from the comfort of your home. However, the learning curve can be steep, and the risk of damage looms large.
On the other hand, professional services bring expertise, quality, and peace of mind. With state-of-the-art equipment and experienced technicians, your films are in safe hands. Consider the value of your time and the irreplaceable nature of your memories when making your decision.
7. Embracing the Cloud: Storing Your Memories Safely
Once your films are digitised, the question arises: where should you store them? Enter the cloud—a virtual treasure chest for your precious memories. Cloud storage offers convenience, security, and accessibility, making it an ideal choice for cinephiles.
With cloud storage, you can access your films from anywhere, anytime. Share them with family or relive those cherished moments on a whim. Plus, with automatic backups, your digital files are safe from hardware failures.
Choose a cloud service that offers ample storage, robust security, and user-friendly features. Your memories are priceless; ensure they are stored with the care they deserve.
8. Sharing the Nostalgia: Bringing Your Films to Life
Now that your films are digitised and safely stored, it’s time to share the nostalgia! Whether it’s a family movie night or a virtual gathering, bringing your films to life is a joyous occasion that bridges the past and present.
Consider hosting a themed viewing party. Break out the popcorn, dim the lights, and invite friends and family to relive those cherished memories. A little bit of nostalgia goes a long way in creating unforgettable moments.
For a more modern touch, share your films online. Social media platforms and video-sharing sites offer a global stage for your cinematic gems. Let the world bask in the glow of your cherished memories.
9. Testimonials and Treasures: The Joy of Preserved Memories
As you bask in the glow of your preserved memories, take a moment to reflect on the journey. Testimonials from fellow cinephiles often serve as a reminder of the joy and satisfaction that come with preserving 8mm cine films.
Read stories of families brought closer together through shared memories, or individuals rediscovering forgotten moments. These testimonials highlight the importance of preserving our past and the impact it has on our present and future.
Consider sharing your own story. Whether it’s through a blog, a forum, or social media, your experience may inspire others to embark on their own preservation journey.
10. The Final Frame: A Legacy of Memories
As we reach the final frame of our cinematic journey, it’s clear that preserving 8mm cine films is a labour of love. Through careful storage, cleaning, and digitization, these films can continue to enchant and inspire for generations to come.
Remember, your films are more than just reels of celluloid; they’re a window into the past, capturing moments that define us. By preserving them, you’re safeguarding a legacy of memories for future generations to cherish.
So, dear cinephile, embrace the joy of preservation. Let your films shine brightly, illuminating the stories and memories that make us who we are. Your journey is just beginning, and the possibilities are endless.
Preserving memories
Preserving Memories: The Art of Cine Film Conversion
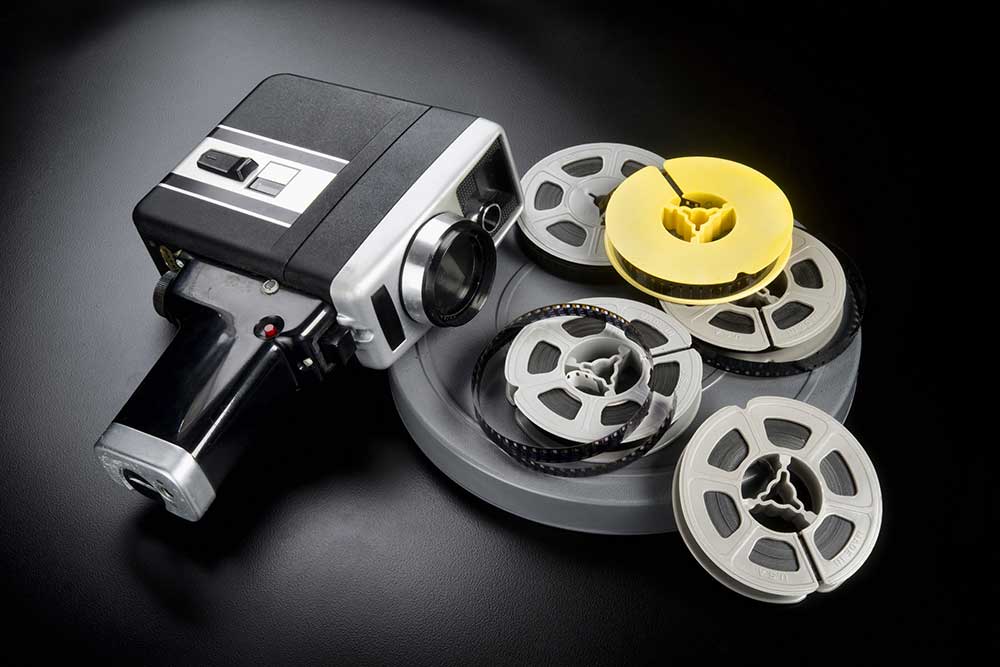
In today’s digital age, preserving precious memories captured on cine films is more important than ever. At Video Image Productions, we specialize in converting your cherished 8mm and 16mm cine films into high-quality digital formats like MP4, AVI, or MOV, ensuring that your memories are not only preserved but also enhanced for future generations to enjoy.
Why Convert Your Cine Films?
Cine films, while nostalgic, are prone to deterioration over time. By converting them to digital formats, you can protect them from the ravages of time and enjoy them on modern devices. Our state-of-the-art Tobin cine scanners and advanced editing software guarantee the highest quality transfer, complete with custom edits like color correction and audio restoration.
Our Process
- Initial Consultation: We begin with a thorough consultation to understand your specific needs and preferences.
- High-Definition Scanning: Using our advanced equipment, we scan your cine films in HD, ensuring every detail is captured.
- Custom Edits: Our team of experts provides bespoke editing services, including color correction and audio restoration, to enhance your films’ quality.
- Secure Backup: All digital files are securely backed up on our NAS drives, with a capacity of 30 TB, ensuring your memories are safe.
- Flexible Delivery: We offer a range of delivery options, including cloud transfer, USB memory sticks, and hard drives. For our local customers in Surrey, Kent, Hampshire, and London, we provide personal pickup and delivery services.
Testimonials
Our clients consistently praise our fast service and the excellent quality of our transfers. As the official cine film transfer provider for Snowbow Productions, we take pride in delivering exceptional results that exceed expectations.
Get in Touch
Preserve your memories with Video Image Productions. Call us at +44 01323 873513. Visit us at 53 Stafford Road, BN25 1UB, Seaford, East Sussex, and let us help you keep your cherished moments alive.
Feel free to let me know if there are any specific details or sections you’d like to add or modify!
Bauer super 8 camera
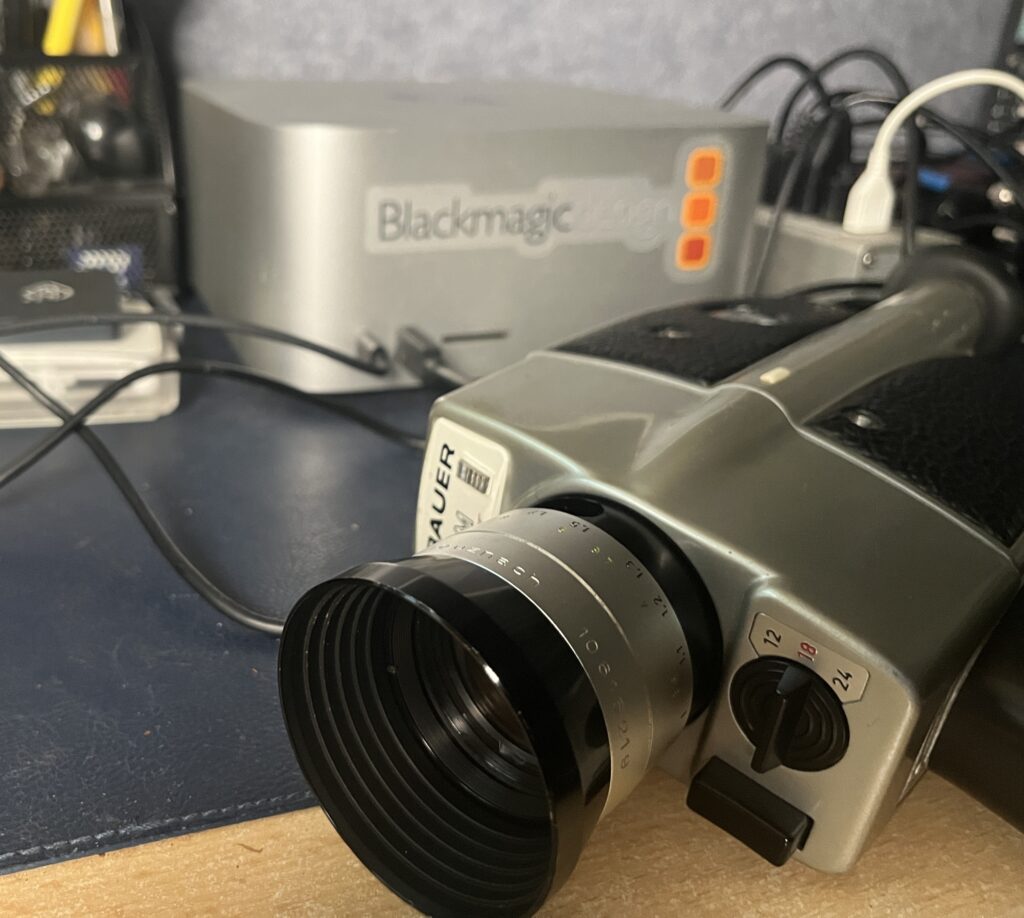
Shooting a wedding with a Bauer Super 8 film camera sounds like a fantastic way to capture the day with a unique, vintage touch! Here are some tips to help you get the most out of your Super 8 experience:
Preparation
- Check the Camera: Make sure your Bauer Super 8 is in good working condition. Check the battery, film loading mechanism, and lens. Test the camera with a short roll to ensure it functions properly.
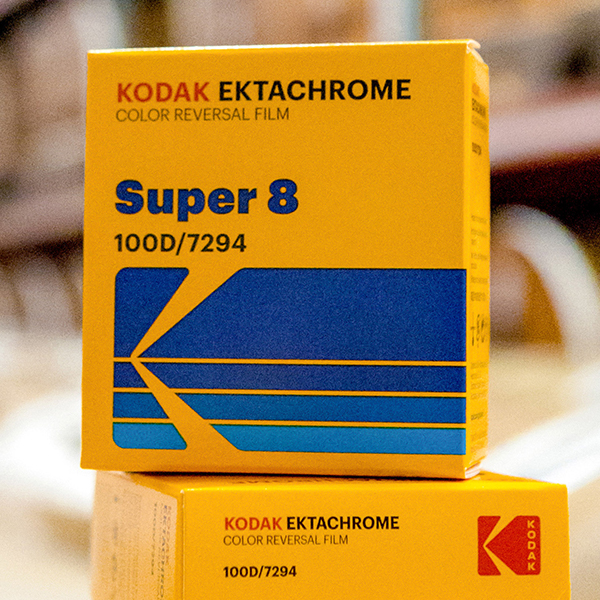
- Film Stock: Decide on the type of film stock you’ll use. Color negative film is popular for weddings due to its forgiving nature, but you might also consider color reversal (slide) film for more vibrant colors. Make sure to bring extra rolls in case you need them.
- Lighting: Super 8 film is more sensitive to light compared to modern digital cameras. Be mindful of lighting conditions, especially in indoor or dimly lit venues. You might need to adjust your shooting style or use additional lighting if necessary.
Shooting
- Plan Your Shots: Think about the key moments you want to capture—ceremony, first kiss, first dance, speeches, etc. Create a loose shot list to ensure you don’t miss anything important.
- Film Duration: Super 8 film cartridges typically last between 2.5 to 3 minutes. Plan your shots so that you don’t run out of film during crucial moments. You might want to use multiple cartridges and have a plan for switching them discreetly.
- Manual Focus and Exposure: If your Bauer Super 8 has manual focus and exposure controls, use them to your advantage. Pay attention to the depth of field and exposure settings to ensure your footage is sharp and well-exposed.
- Steady Shots: Use a tripod or monopod to keep your shots steady, especially if you’re shooting in low light. Super 8 film tends to exaggerate camera shake more than digital.
- Timing: Be patient and wait for the right moments. The beauty of film is in its imperfections, so don’t stress too much about achieving perfect shots.
After the Wedding
- Film Development: After the wedding, get your film developed by a reputable lab. They can also provide scanning services if you want digital copies of your footage.
- Review and Edit: Once you have your developed film, you can review it and make any necessary edits or create a highlight reel. If you had the film digitized, you can use video editing software to cut and arrange your footage.
- Preserve the Memories: Consider creating a physical or digital archive of the film. Super 8 footage has a nostalgic quality that many people appreciate.
Shooting a wedding on Super 8 will give the couple a unique keepsake with a classic feel. Enjoy the process and the charm that film brings to capturing such special moments!
Developing Super 8
1. Choose a Film Lab
Several film labs in the UK specialize in processing Super 8 film. Some well-known ones include:
- Gauge Film
- Andec Filmtechnik (Germany but offers services to the UK)
- iLab UK
2. Prepare Your Film
- Label Your Film: Clearly label your Super 8 film cartridge with your name and contact details.
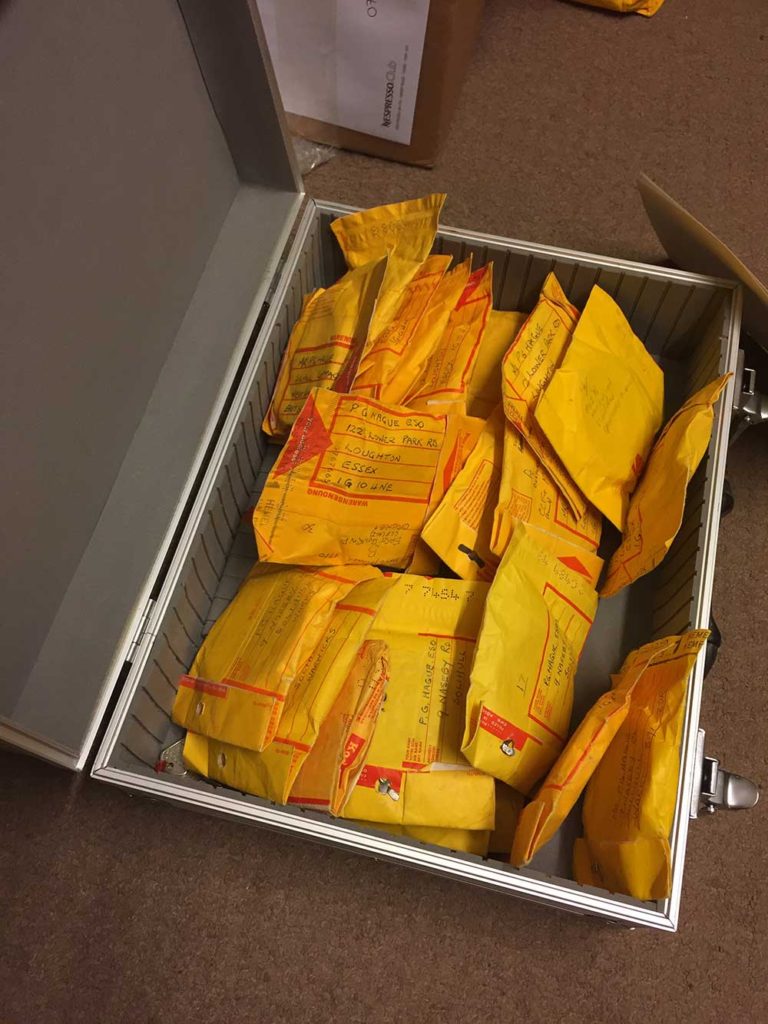
- Packaging: Ensure your film is securely packaged to avoid damage during shipping. Use a padded envelope or a small box.
3. Select Processing Services
Most labs offer various processing services. Make sure to check their website or contact them for specific details. Services typically include:
- Standard Processing: Developing the film.
- Telecine/Scanning: Converting the developed film to a digital format.
- Push/Pull Processing: If your film was shot at a different ISO than it was designed for.
4. Send Your Film
- Addressing: Send your film to the chosen lab’s address. Be sure to use a reliable courier or postal service with tracking to ensure it arrives safely.
- Order Form: Include a completed order form if the lab requires it. This form typically asks for details on the type of processing and scanning services you require.
5. Wait for Processing
Processing times can vary depending on the lab and the specific services you requested. Typical turnaround times range from a few days to a few weeks.
6. Receive and Review Your Developed Film
Once the lab has processed your film, they will usually return the original film along with a digital copy if you requested scanning services. Review the material to ensure it meets your expectations.
7. Additional Tips
- Communicate with the Lab: If you have any specific requests or questions, don’t hesitate to contact the lab directly.
- Check for Offers: Some labs might have discounts or package deals, especially for bulk processing or student projects.
- Follow the Lab’s Guidelines: Ensure you follow the lab’s guidelines for film submission to avoid any issues.
By following these steps, you should be able to successfully develop your Super 8 film in the UK. If you need more specific details about any of the labs mentioned or further assistance, feel free to ask!
