Colour correcting cine film
Colour correcting cine film.

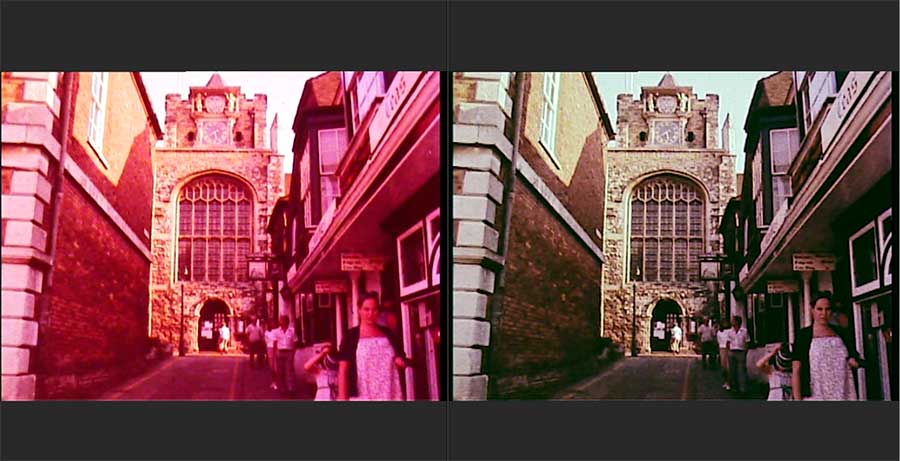
Picture above showing colour correction. The window on the left shows the picture before colour correction.
Colour correcting cine film.
We are at present in the process of scanning 16mm film to digital files. The customer is Eastbourne Borough Council.
Heritage Eastbourne Have supplied us with around 8 x 16mm cine films for conversion to DVD and digital files.
The 16mm film has an optical sound track. This looks like a clear strip down one side of the 16mm, with wavy black lines on the track.
Our 16mm scanning method.
The 16mm film is scanned vis LED light and captured via an HD camera housed into the scanner. The digital output is transferred to our Apple Mac editing computer via HDMI connection. This method of scanning cine film produces no flicker. Also due to the nature of the diffused LED light source. There are no hot spots in the scanned video file.
Capture rate.
The capture rate from the HDMI input is a broadcast specification 50 mega bytes per second.
Post capture.
The video file is then imported into Final Cut Pro 10 and placed on the timeline.
Colour correcting cine film.
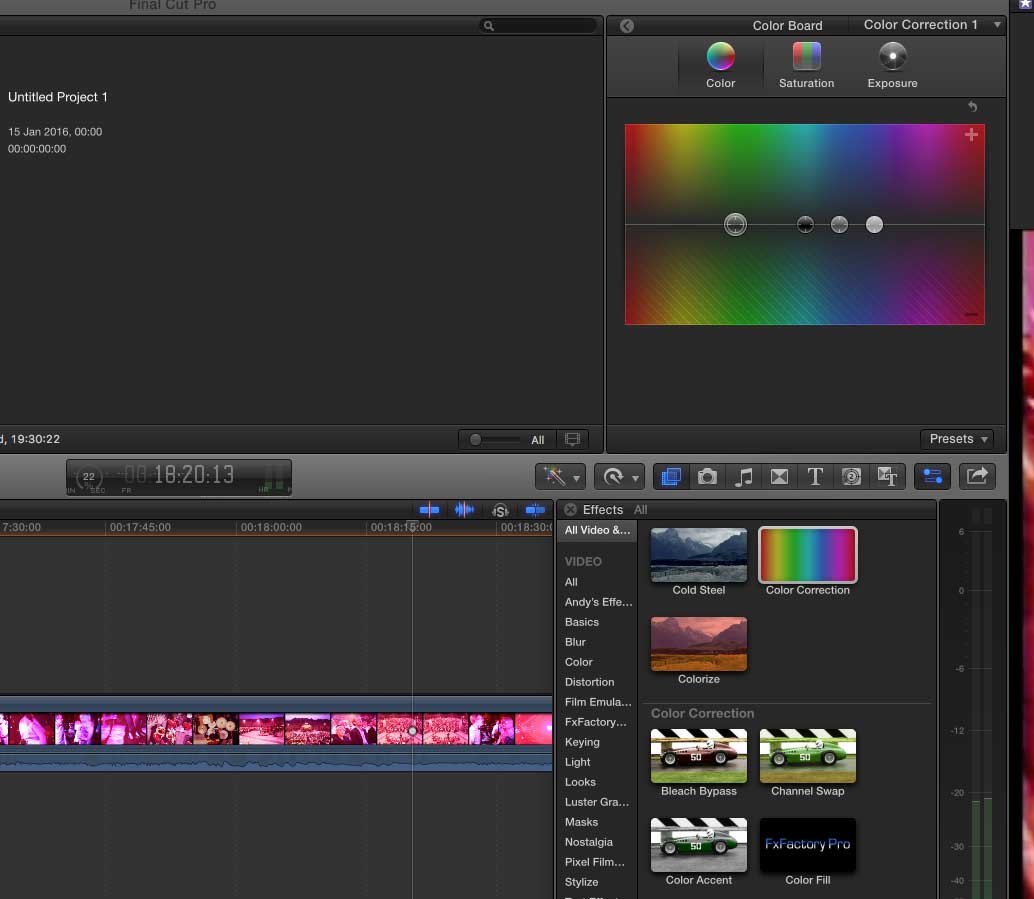
The colour correcting of the cine film involves adjusting the Highlights. Colour channels and exposure of the film. This process is fairly time consuming. It requires a good eye for keeping the balance the same throughout the film.
Magenta. (Red)
When Colour correcting cine film magenta tends to be the predominant colour to correct. This is due to cine film ageing and seems to be present in 16mm. 8mm film suffers more from a Cyan or Magenta cast than just Magenta.

The picture Above. Shows how I have removed the magenta cast to the film using the colour Board in Final Cut Pro 10.
Link to Eastbourne Museums.